
On a black polypropylene (PP) bumper, the nature of the damage dictates the entire repair strategy. Confusing a surface scratch with a deformation or crack in the substrate is a waste of time and risks worsening the defect. Here, we detail the methods that actually work, their technical limits, and the mistakes to avoid with this type of plastic.
Raw black plastic or painted: the diagnosis that changes everything
The first question to settle is not the depth of the scratch, but the nature of the surface. A bumper made of unpainted raw black plastic (textured, matte) does not repair at all like a lacquered black bumper covered with primer, a color base, and a clear coat.
Related reading : Essential Tips for a Stress-Free and Peaceful Move
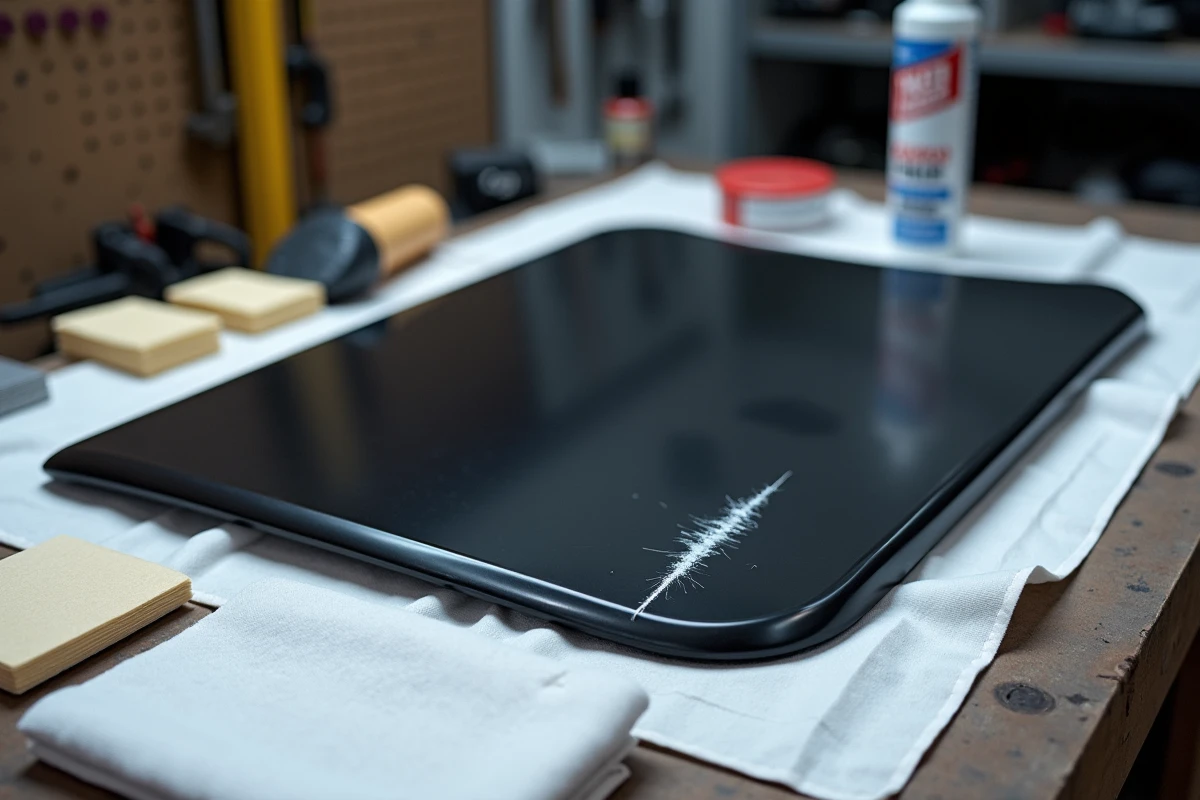
On raw plastic, the scratch whitens the material by tearing away surface material. On a painted bumper, the scratch successively penetrates the clear coat, the color base, the adhesion primer, and then the PP substrate. Run your fingernail across it: if it catches, the scratch goes beyond the surface layer and a simple polish will not be sufficient.
We recommend checking this point before any product purchase. A glance at the inner edge of the bumper (wheel arch, mounting) reveals whether the plastic is colored throughout or covered with a layer of paint. This distinction, rarely addressed in consumer guides, prevents treating raw plastic with a paint touch-up kit, or vice versa.
Recommended read : Tips and Tricks for a Fulfilling Family Life Every Day
To delve deeper into the techniques suited to each scenario, the approach to remove a scratch from a black plastic bumper directly depends on this initial diagnosis.
Thermal renovation of raw black plastic: method and limits
Localized heating with a heat gun is a real renovation technique for outdoor black plastics. The principle: heat brings oils and pigments trapped in the polypropylene to the surface, visually reducing the whitening caused by micro-scratches and UV exposure.
The method works on textured raw plastic where the scratches remain superficial. We use it with a heat gun set to low temperature, in quick and regular passes, without lingering on one area. Prolonged heating on the same spot irreversibly deforms the plastic.
Two limits to know:
- Heating does not fill a deep scratch. It visually rehydrates the surface, but the groove remains present to the touch if material has been torn away.
- The effect is temporary on plastic severely degraded by UV. Without subsequent protection (plastic renovator with UV filter), the whitening returns within a few weeks.
- On a painted bumper, this technique should be avoided: heat lifts the clear coat and base, creating blisters that cannot be fixed without complete repainting.
Polish and compound on painted black bumper: grits and sequence
Polish alone only corrects micro-scratches in the clear coat. As soon as the color base is compromised (a different shade appears under the scratch), you need to switch to a finishing putty or a paint touch-up kit.
For scratches confined to the clear coat, the sanding sequence is as follows:
- Clean the area with a silicone degreaser, then dry completely. Any residue of wax or grease prevents the abrasive from working evenly.
- Wet sanding with 2000 grit paper, then 3000, in linear movements (never circular). The goal is to level the edges of the scratch without digging into the adjacent clear coat.
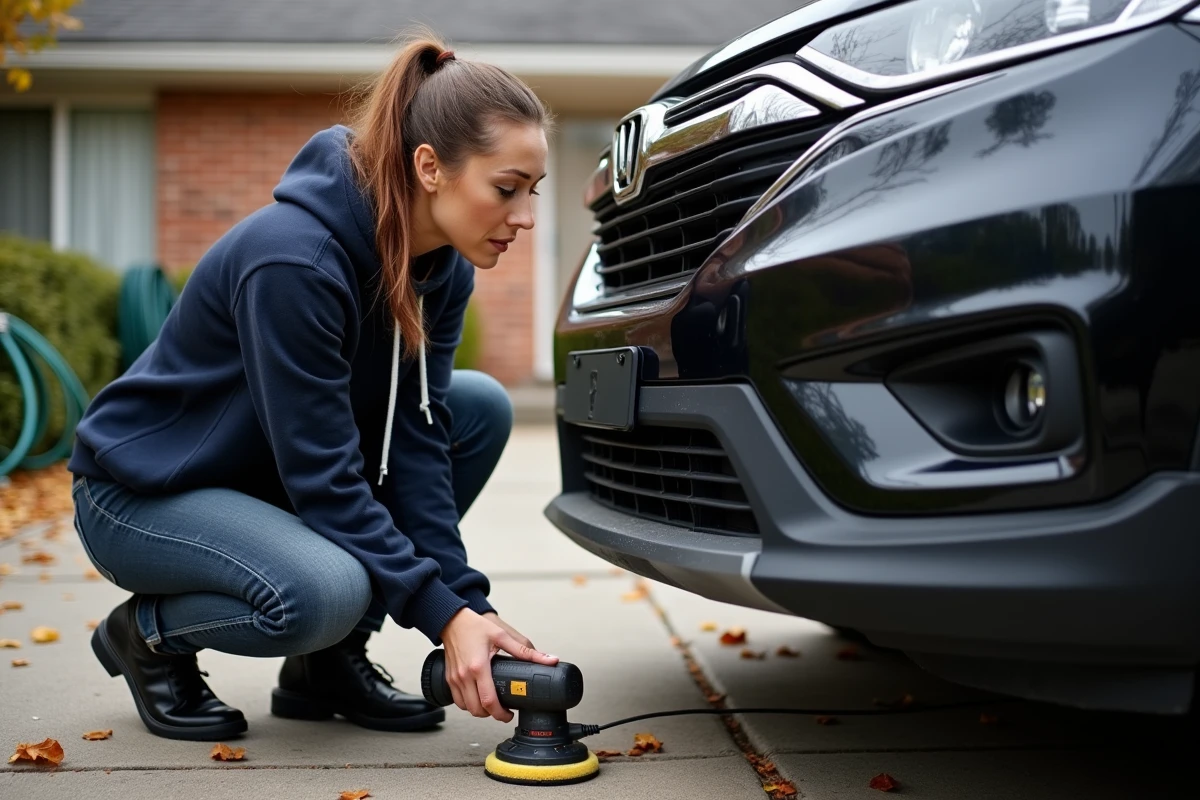
- Apply a medium-cut compound, then a finishing polish, by hand or with an orbital polisher set to low speed.
- Final buffing and application of a protective wax or ceramic treatment to seal the pores of the worked clear coat.
On a black bumper, even the slightest circular micro-mark (hologram) is visible in bright sunlight. Working only in linear passes reduces this risk. If holograms appear, a second pass with finishing polish using a soft buffing pad eliminates them.
When the compound is no longer enough
When the scratch penetrates the clear coat and reaches the black base, sanding alone digs deeper without filling anything. You then need to apply a finishing polyester putty (very fine grit), sand after hardening with 800 then 1200 grit, apply a plastic adhesion primer, and then repaint locally with a spray can matched to the manufacturer’s color code.
We frequently observe failed interventions because the putty used is a standard body filler, too rigid for a soft substrate like PP. A specific soft plastic putty absorbs the vibrations of the bumper without cracking at the first thermal shock.
Scratch or deformation: the boundary that quick fixes ignore
Bodywork professionals clearly distinguish between surface scratches and substrate deformation. If the impact has caused a dent, crease, or crack in the polypropylene beneath the paint layer, no polish or surface putty will solve the problem.
A simple test: place your palm flat on the scratched area. If you feel a hollow or abnormal bulge, the plastic has deformed. In this case, the repair involves thermal reshaping from behind (access through the inside of the bumper) before any aesthetic touch-up. Without this step, the putty applied to a deformed surface will crack at the first temperature variation.
A well-diagnosed scratch on black plastic can be repaired cleanly, whether by heat on a textured raw surface or by sanding and painting on a lacquered bumper. The tipping point remains the same: as soon as the substrate is deformed or cracked, the repair moves out of the realm of quick fixes and into that of structural bodywork.